All Categories
Featured
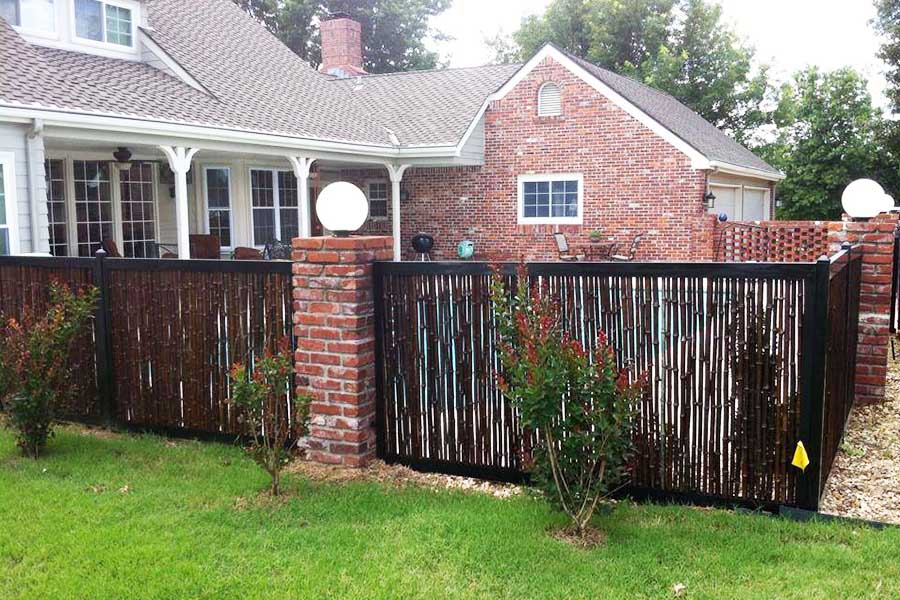
Fencing messages play a vital duty in preserving the security and appearance of your fence. When a post leans or comes to be damaged, it's important to attend to the problem quickly to prevent further deterioration. Right here's a detailed guide on just how to take care of a leaning or damaged fencing article effortlessly.
Step 1: Determine the Root Cause Of the Problem
Understanding why your fence blog post is leaning or damaged is vital to using the right fix. Common causes include:
Soil erosion or loosened ground
Rot or degeneration in wooden posts
Physical damages from weather condition or influence
![]()
Insufficient setup or inappropriate securing
Recognizing the cause aids ensure the problem will not repeat after repair work.
Action 2: Collect Devices and Materials
You'll need the complying with things:
Shovel or blog post opening digger
Drill or hammer
Level
Gravel or concrete mix
Replacement blog post (if required)
Saw (for reducing timber if required)
Post repair work brackets or anchors (optional)
Action 3: Repairing a Leaning Fencing Post
If the message is leaning but not damaged, below's exactly how to fix it:
Dig Around the Base. Make use of a shovel to dig around the leaning blog post, revealing its base and loosening up the soil.
Correct The Alignment Of the Message. Use a level to inspect upright alignment. Have somebody hold the blog post upright while you readjust it.
Reinforce the Base
For Crushed Rock: Load the opening with gravel, tamping it down as you most likely to make certain stability.
For Concrete: Pour concrete into the hole around the base of the article, guaranteeing it loads all spaces.
Secure and Set. Enable the concrete to treat for a minimum of 24 hours. The message needs to stay upright. once it's strong.
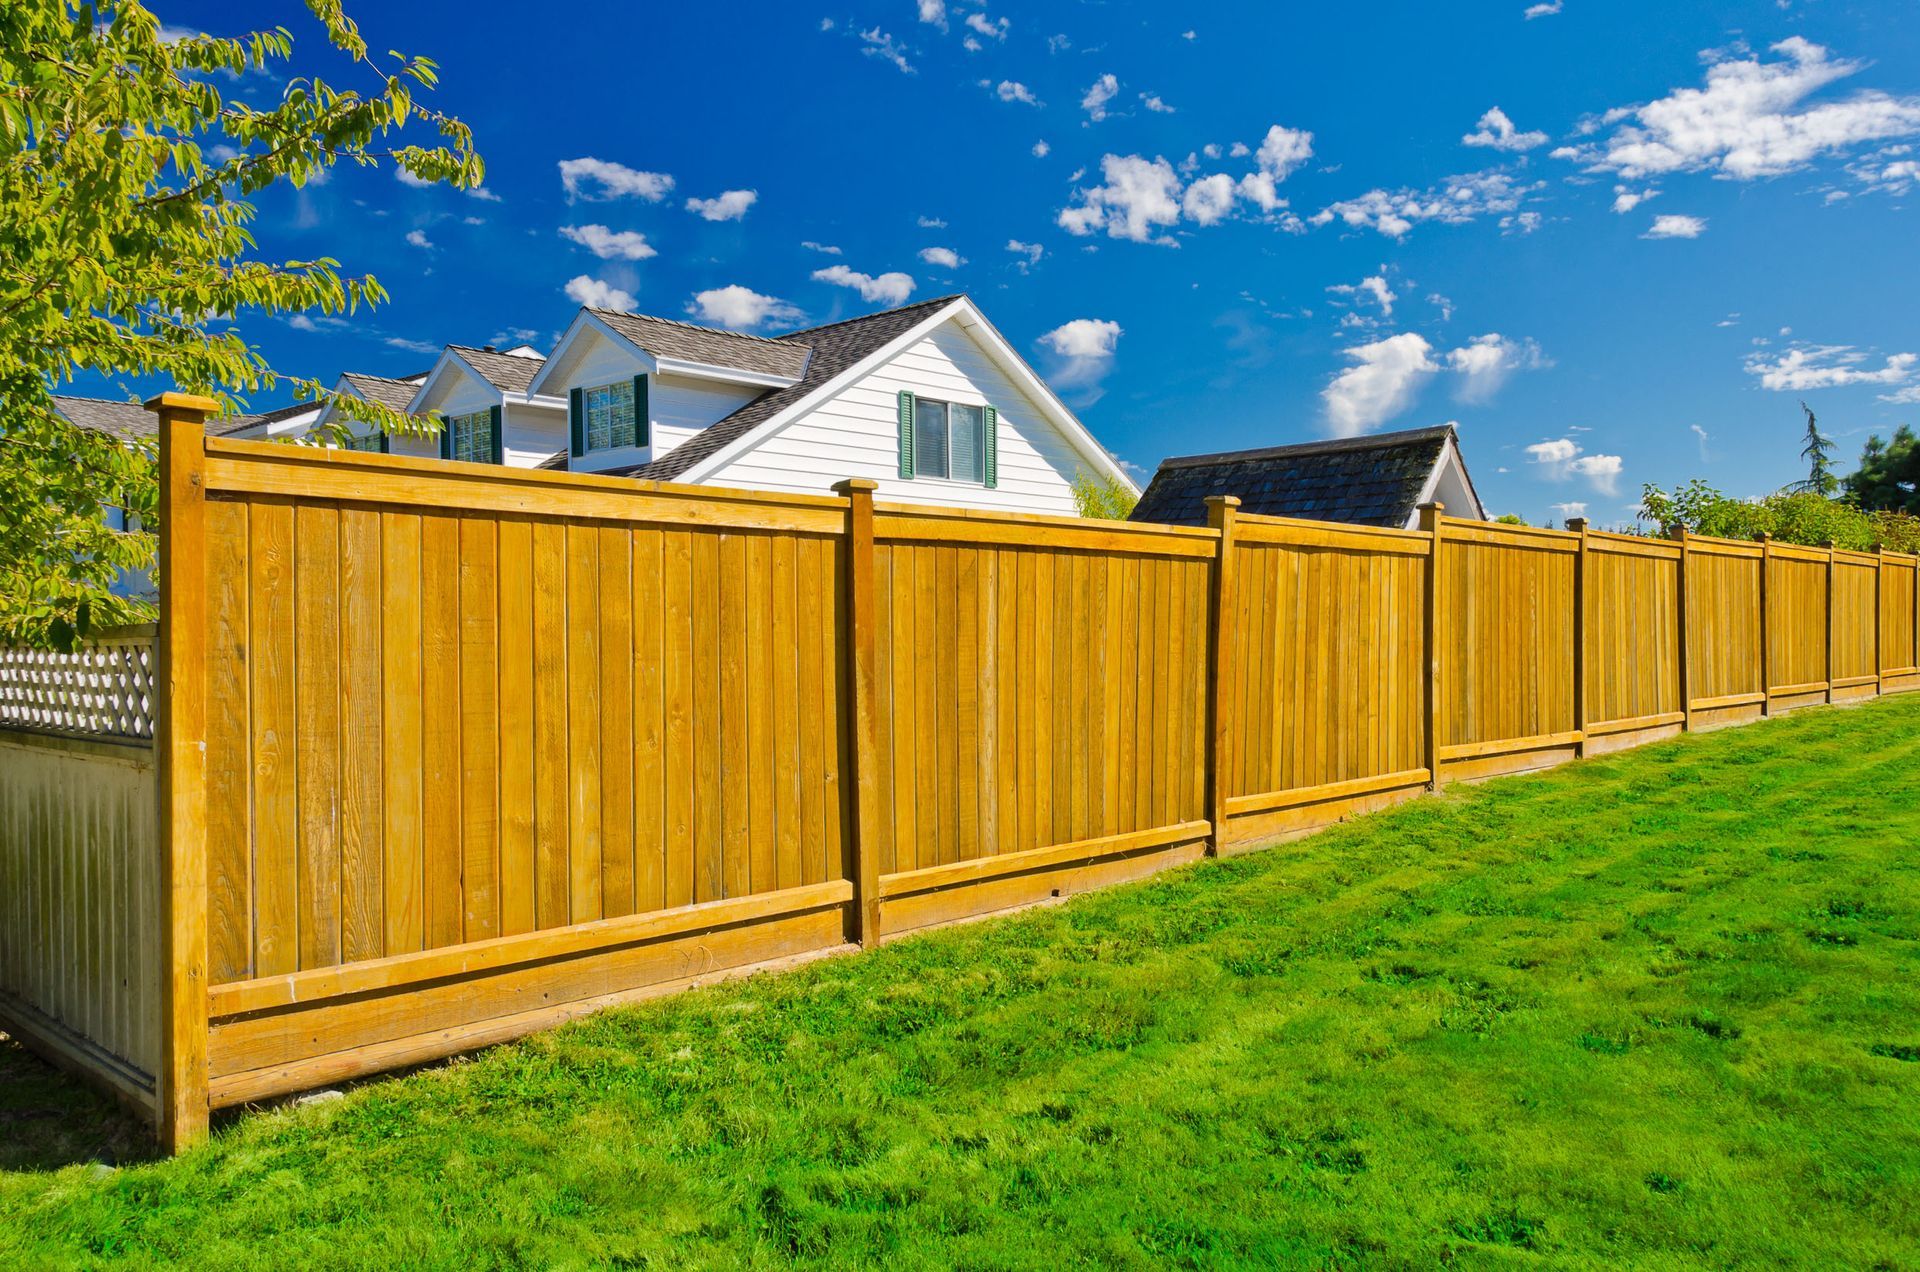
Action 4: Replacing a Damaged Blog Post
![]()
When a message is broken or rotten, substitute is frequently the very best option.
Get Rid Of the Old Blog Post. Remove the damaged blog post along with any type of concrete footing. You may require a lever for stubborn pieces.
Prepare the Hole. If necessary, tidy out the opening and make it slightly larger. Guarantee the deepness is at least one-third the article's complete size for stability.
Install the New Post. Location the brand-new post in the opening and inspect placement with a degree. Safeguard it temporarily with dental braces or stakes.
Protect and fill up. Use crushed rock or concrete to load the opening, tamping or pouring as needed. Allow the product established before affixing fencing panels or rails.
Action 5: Stop Future Issues.
To maintain your fence articles durable and sturdy, follow these pointers:
Usage pressure-treated wood or steel posts immune to rot and decay.
Guarantee proper drain to stop water from pooling at the base.
Examine your fence each year for indicators of wear or instability.
Conclusion
Taking care of a leaning or damaged fencing blog post is a workable do it yourself job that can conserve you money and time. By identifying the problem, utilizing the appropriate products, and adhering to these steps, you can recover your fencing to its initial problem. Regular upkeep and timely fixings will guarantee your fencing continues to be a strong and eye-catching attribute of your residential property for many years ahead.
Step 1: Determine the Root Cause Of the Problem
Understanding why your fence blog post is leaning or damaged is vital to using the right fix. Common causes include:
Soil erosion or loosened ground
Rot or degeneration in wooden posts
Physical damages from weather condition or influence
Insufficient setup or inappropriate securing
Recognizing the cause aids ensure the problem will not repeat after repair work.
Action 2: Collect Devices and Materials
You'll need the complying with things:
Shovel or blog post opening digger
Drill or hammer
Level
Gravel or concrete mix
Replacement blog post (if required)
Saw (for reducing timber if required)
Post repair work brackets or anchors (optional)
Action 3: Repairing a Leaning Fencing Post
If the message is leaning but not damaged, below's exactly how to fix it:
Dig Around the Base. Make use of a shovel to dig around the leaning blog post, revealing its base and loosening up the soil.
Correct The Alignment Of the Message. Use a level to inspect upright alignment. Have somebody hold the blog post upright while you readjust it.
Reinforce the Base
For Crushed Rock: Load the opening with gravel, tamping it down as you most likely to make certain stability.
For Concrete: Pour concrete into the hole around the base of the article, guaranteeing it loads all spaces.
Secure and Set. Enable the concrete to treat for a minimum of 24 hours. The message needs to stay upright. once it's strong.
Action 4: Replacing a Damaged Blog Post
When a message is broken or rotten, substitute is frequently the very best option.
Get Rid Of the Old Blog Post. Remove the damaged blog post along with any type of concrete footing. You may require a lever for stubborn pieces.
Prepare the Hole. If necessary, tidy out the opening and make it slightly larger. Guarantee the deepness is at least one-third the article's complete size for stability.
Install the New Post. Location the brand-new post in the opening and inspect placement with a degree. Safeguard it temporarily with dental braces or stakes.
Protect and fill up. Use crushed rock or concrete to load the opening, tamping or pouring as needed. Allow the product established before affixing fencing panels or rails.
Action 5: Stop Future Issues.
To maintain your fence articles durable and sturdy, follow these pointers:
Usage pressure-treated wood or steel posts immune to rot and decay.
Guarantee proper drain to stop water from pooling at the base.
Examine your fence each year for indicators of wear or instability.
Conclusion
Taking care of a leaning or damaged fencing blog post is a workable do it yourself job that can conserve you money and time. By identifying the problem, utilizing the appropriate products, and adhering to these steps, you can recover your fencing to its initial problem. Regular upkeep and timely fixings will guarantee your fencing continues to be a strong and eye-catching attribute of your residential property for many years ahead.
Latest Posts
Uncover Budget-Friendly Auto Repairs with Montclare’s Exclusive Service Specials
Published May 29, 25
1 min read
Find Out How Your Partner at WyHy Maximizes Your Savings on Loans and Savings
Published May 25, 25
1 min read
Explore WyHy FCU – Your Path to Superior Financial Services in Wyoming
Published May 24, 25
1 min read
More
Latest Posts
Uncover Budget-Friendly Auto Repairs with Montclare’s Exclusive Service Specials
Published May 29, 25
1 min read
Find Out How Your Partner at WyHy Maximizes Your Savings on Loans and Savings
Published May 25, 25
1 min read
Explore WyHy FCU – Your Path to Superior Financial Services in Wyoming
Published May 24, 25
1 min read